Everything Starts With Identity For Security

Digital Partners is a leading provider of digital identity solutions
At Digital Partners, our mission is simple: to foster trust in a digital world. We provide innovative digital identity solutions that prioritise your security and privacy. From onboarding to offboarding, we ensure that every step of your customer journey is protected. We don’t just stop at providing a service; we build technology that people can trust. We never share your data—our commitment is to keep Mobile ID as secure and reliable as it has always been.

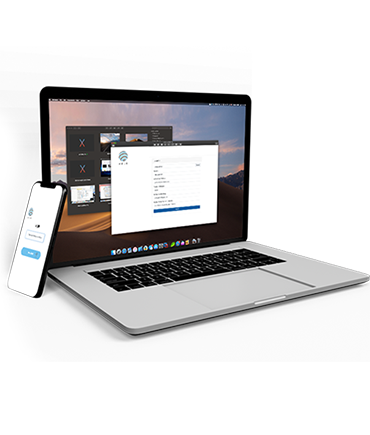
Everything starts with identity
Mobile ID brings your physical identification proofs to a centralized digital platform, transforming how you authenticate your identity. Instead of carrying physical documents, you can now securely verify who you are with your mobile device. This digital identity solution centralizes your government-issued IDs and credentials, allowing you to access a wide range of services—from online banking to e-government platforms—with ease. With strong authentication and encrypted communication, Mobile ID ensures your personal data is protected while simplifying your digital life. Enjoy the convenience of a single, secure identity that you can use anytime, anywhere.
Why Choose Mobile ID?
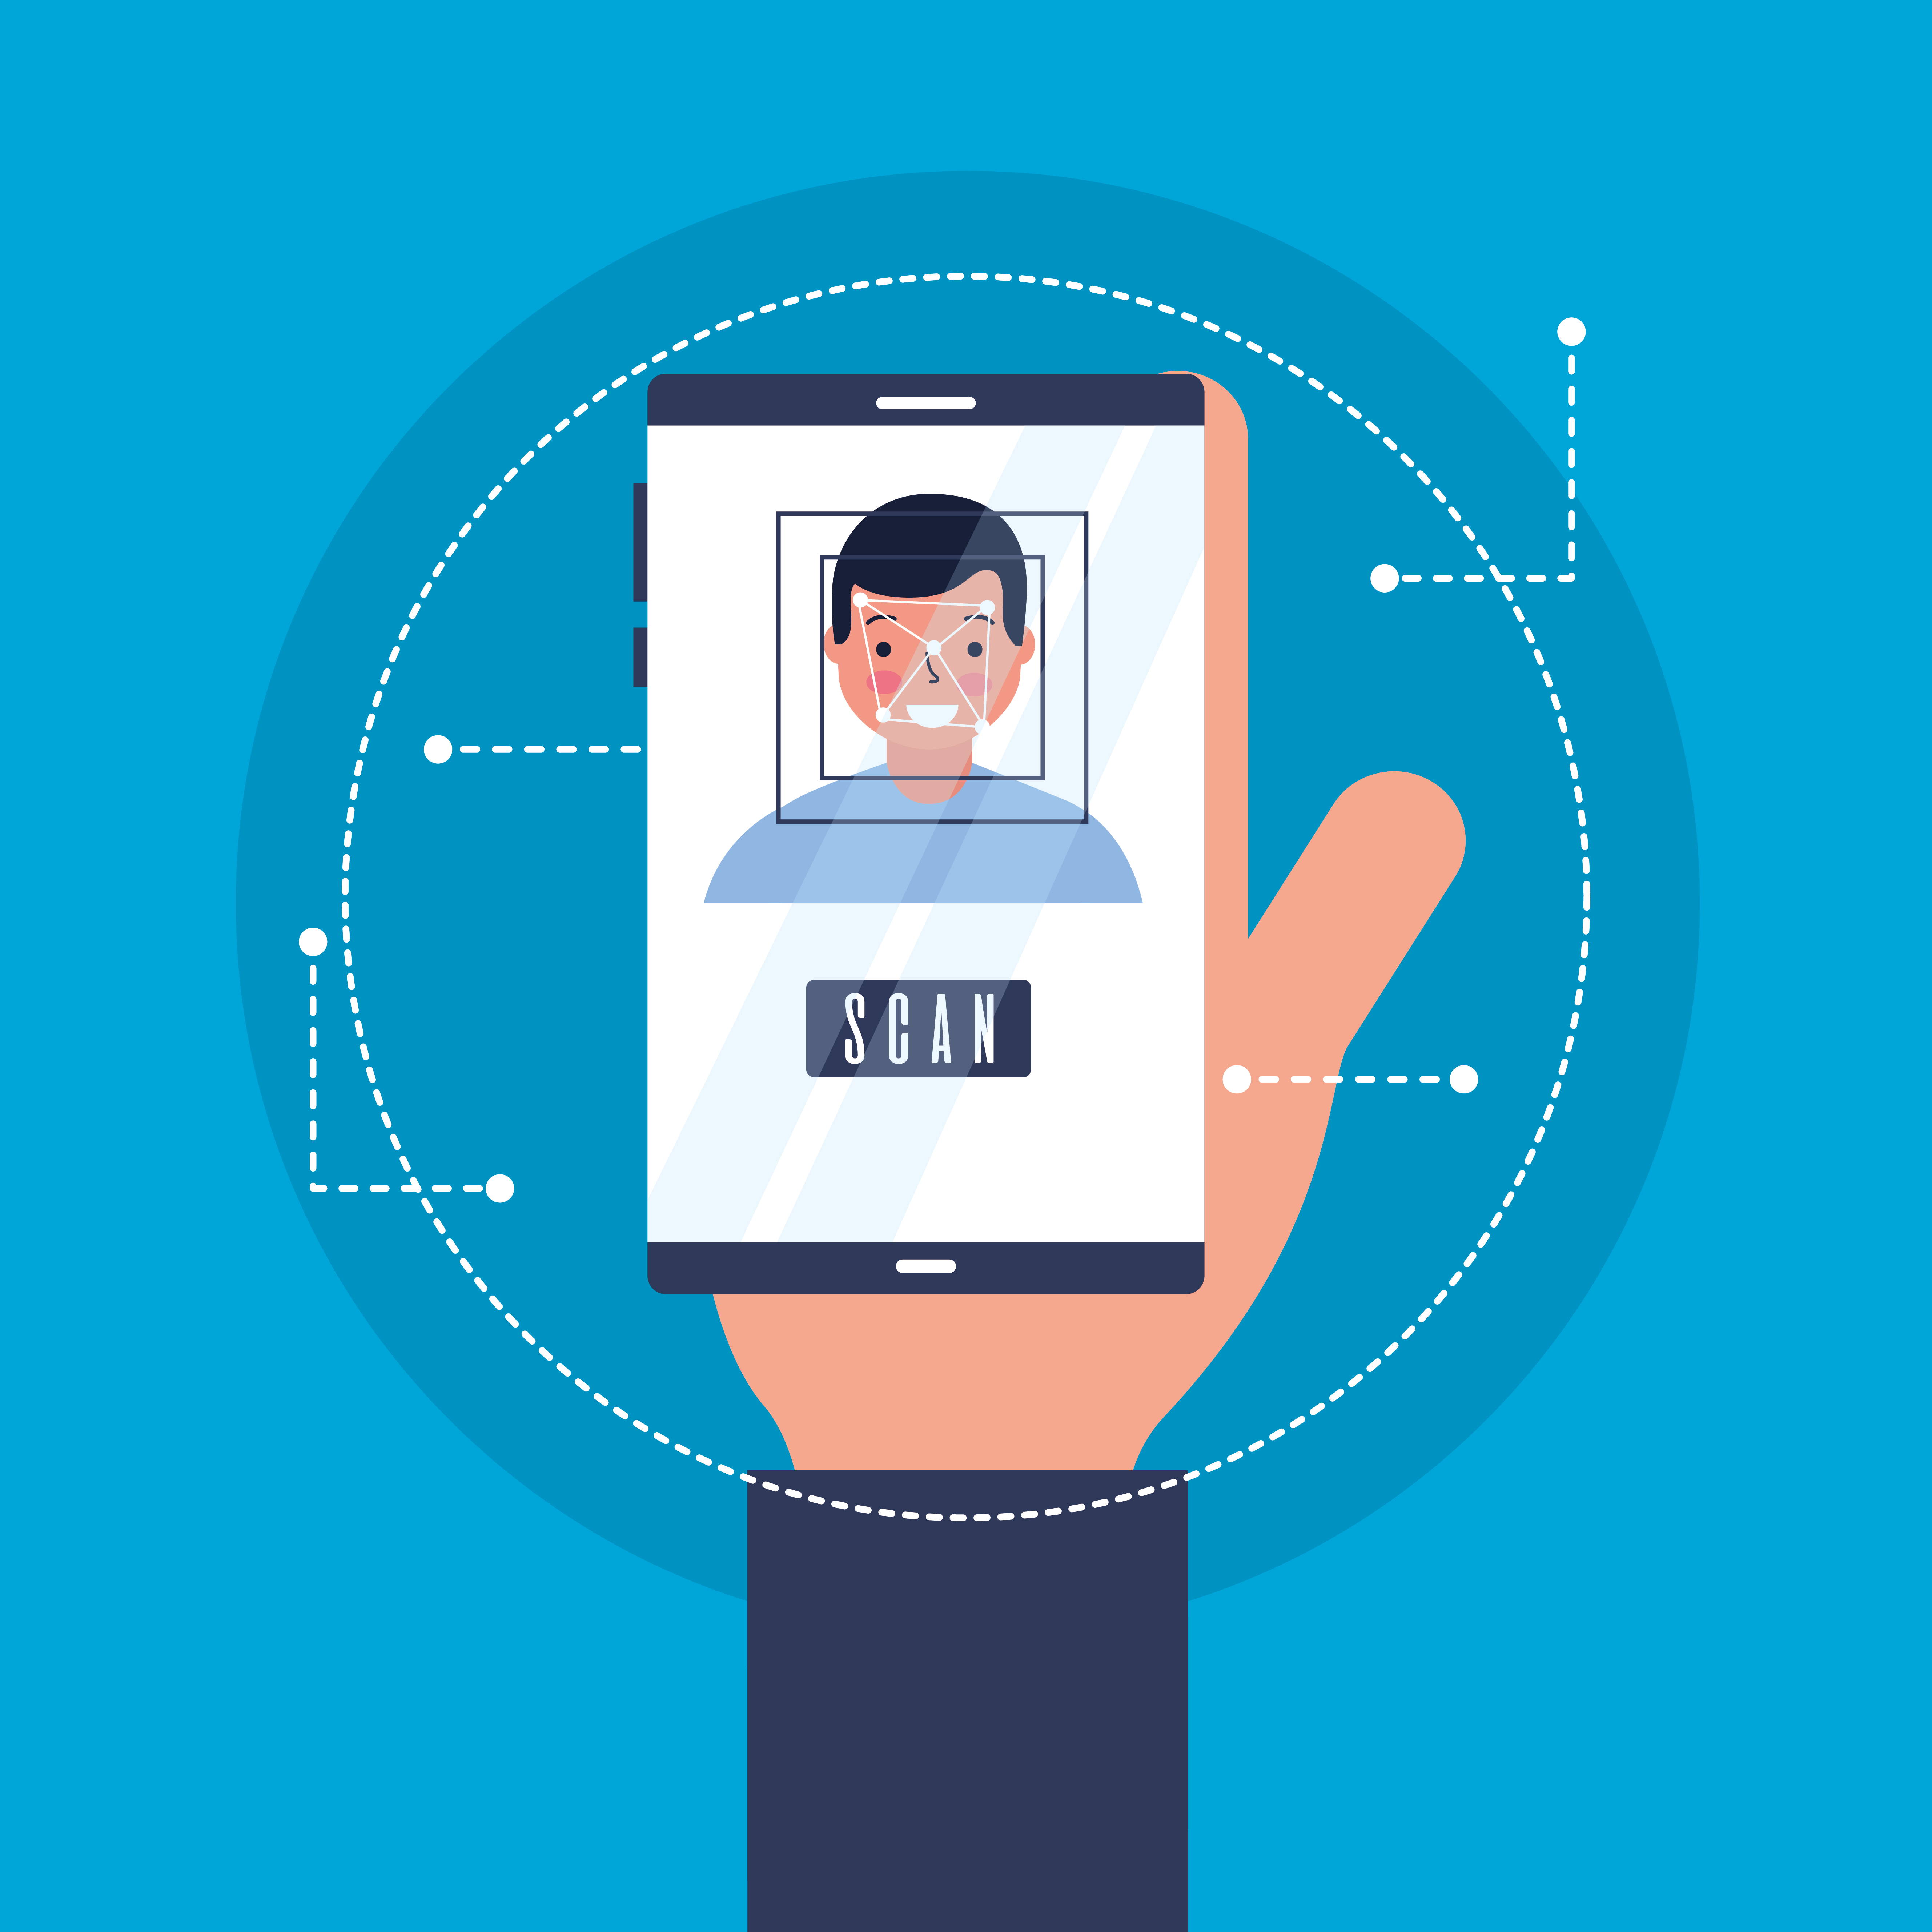
Advanced Security
Your safety is our top concern. Mobile ID employs cutting-edge security measures to safeguard your personal information from online risks.
Effortless Access
Experience quick and easy authentication across all your digital platforms. With Mobile ID, you save time, reduce hassle, and enhance your overall digital journey.
Universality
Manage all your digital needs with one identity. Mobile ID seamlessly integrates with various online services, from banking to e-commerce, giving you the freedom to navigate the digital world effortlessly with one trusted credential.

Complete Control Over Your Data
With Mobile ID, you are in charge of your personal information. Choose what to share and with whom, all while enjoying the highest standards of privacy and security.
Products
Product
Authentication
Sign in securely with MobileID, enhancing user access while protecting your platform
Product
Authorization
Strengthen the security of your online transactions with Mobile ID. Minimize identity theft risks, as every account activity triggers a notification for your approval.
Product
Consent Signature
Sign documents electronically with our fast, legally binding Consent Signature solutions, ensuring both convenience and compliance
Product
ID Verification
The Digital ID Card in our Mobile ID solution is a secure, encrypted, and always at your fingertips digital ID through your Mobile ID app. It's as simple as using your existing authentication—PIN, fingerprint, or Face ID.
Secure and Seamless Solutions
Streamlined Identity Verification
Sign Up: Ensure a smooth onboarding process by verifying the identities of individuals and organisations using trusted and reliable sources. This solution enhances security from the very first interaction.
Automated Fraud Detection and Risk Management
Sign of Fraud?: Protect your business and customers with automated workflows that detect signs of fraud and manage risk efficiently. Our solution helps you stay compliant while reducing exposure to fraud.
Efficient Access Management
Sign In: Offer a quick and secure login experience, enabling users to access services seamlessly while you maintain full control over access rights and sensitive data.
Remote Document Signing
Sign It: Facilitate remote, legally binding document signing with ease. Our solution ensures compliance, security, and convenience, all while managing digital evidence effectively.
Solutions
Where Can I Use Mobile ID?
With Mobile ID, you can easily use digital signatures, logins, and confirmations across a wide range of websites, applications, tools, and services. The list of compatible providers and portals is constantly expanding, making Mobile ID a versatile and future-proof solution for secure digital interactions. Here are some key areas where you can use Mobile ID:

E-Government
Access government services online securely, from filing taxes to accessing public records, using Mobile ID for authentication and digital signatures.

Banking, Financial Services & Insurance
Perform secure transactions, manage accounts, and sign documents electronically with financial institutions and insurance companies, all through Mobile ID.
Telecom & E-commerce
Safeguard your communication networks and streamline online shopping experiences. Use Mobile ID to log in, verify purchases, and manage subscriptions effortlessly.

HR & Interim
Simplify hiring processes and workforce management by verifying identities, signing contracts, and accessing HR tools using Mobile ID.

Media & Entertainment
Protect your digital content and manage subscriptions. Mobile ID ensures secure access to streaming services, content platforms, and more.

Mobility, Travel & Hospitality
Ensure secure authentication, allowing for hassle-free mobility and travel experiences across various platforms.
WE FOLLOW THESE
Guidelines
Frequently Asked Questions
What is Mobile ID?
Mobile ID is a secure digital identity solution that allows users to authenticate themselves, authorize payments and securely electronically sign documents across various services, including banking, government platforms, and online portals, using smart devices like mobile devices.
How do users register for Mobile ID?
To register for Mobile ID, users should download the Mobile ID app from the appropriate app store, visit a designated office appointed by their authorizing authority for identity verification, and complete the process with assistance from an authorized representative.
What documents are required for Mobile ID registration/activation?
Users will need a valid authority-issued ID that has been chosen to hold the unique number for the registration/activation, such as a passport or national identity card, to verify their identity during the registration/activation process.
Is Mobile ID secure?
Yes, Mobile ID employs encryption and government-verified identity records to maintain a high level of security for both users and organizations. It eliminates the need for multiple passwords, ensuring a seamless and secure experience.
Can Mobile ID be used on multiple devices?
No, Mobile ID is linked to a single mobile device or smart device like an iPad for security reasons. If users change devices, they will need to re-register Mobile ID on the new device.
Can organizations use Mobile ID?
Yes, organizations can integrate with the Mobile ID solution by applying to the relevant ministry or government office that is designated for organizations integration. They can then use the Mobile ID solution in their systems using tailored APIs for secure identity management.
How can Mobile ID be integrated into an organization’s systems?
After registration, organizations will receive customized APIs, enabling them to integrate Mobile ID into their existing platforms, ensuring secure and efficient identity management and service delivery to all their clients.
Is Mobile ID available for both iOS and Android?
Yes, the Mobile ID app is available for download on both iOS and Android devices via their respective app stores.
What should users do if they lose their phone or change devices?
If a user loses their phone, they should contact Mobile ID support to deactivate their Mobile ID on the lost device. To use Mobile ID on a new phone, the user will need to speak to the designated support team for assistance. The user/client might need to revisit the registration government office to re-activate their Mobile ID.
What if a solution to a query is not found in the app?
If users do not find the solution to their query in the app, they should go to Settings > Help and navigate to the relevant website's Contact Us section to raise their question with the support team on available channels.
Useful Links
Contact Info
 Digital Partners uses 256-bit SSL encryption 100% of the time on every device.
© 2025 Digital Partners. All rights reserved.

